News
Latest updates
Bolt PUGs
By Pibo - Aug 03, 2022
Bolt PUGs (otherwise known as Pick Up Games) is our new web-based system that lets you host PGM matches. Users have complete control of their matches without having to know how to set up a PGM server, add maps or use any PGM commands. In order to start playing, all you need is to have your Discord account linked to your Minecraft account in Bolt.
Beta Stage
PUGs will be available to everybody in the near future. However, since it is currently in Beta, only the following groups can create lobbies:
- OCC Sponsors
- OCS winners
- Next BOLT draft winners
- Next Godzilla draft winners
We are giving beta access to the groups listed above to help us track down any major bugs or other issues we encounter during the beta test. Once we have ironed out all bugs, it will become available to the public.
NOTE: Although only these groups can create lobbies, everyone can join existing lobbies – only one person with the ability to create lobbies is needed for you to play a PUG.
Stats
All matches played in a PUG are saved and displayed in the main view of the lobby. Once a match has ended, stats are viewable on the website just like any other Bolt match.
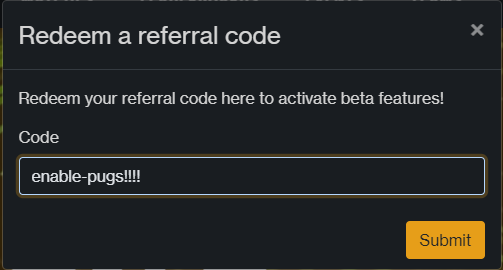
Referral system
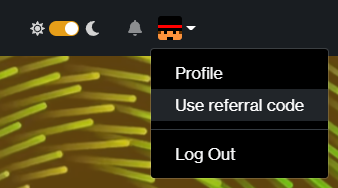
It’s likely that we will start giving away referral codes like gSjly79D, that grant create permissions for PUGs. To activate one of these codes, log in to the Bolt website and click "activate referral code", visible under your head's button in the menu.
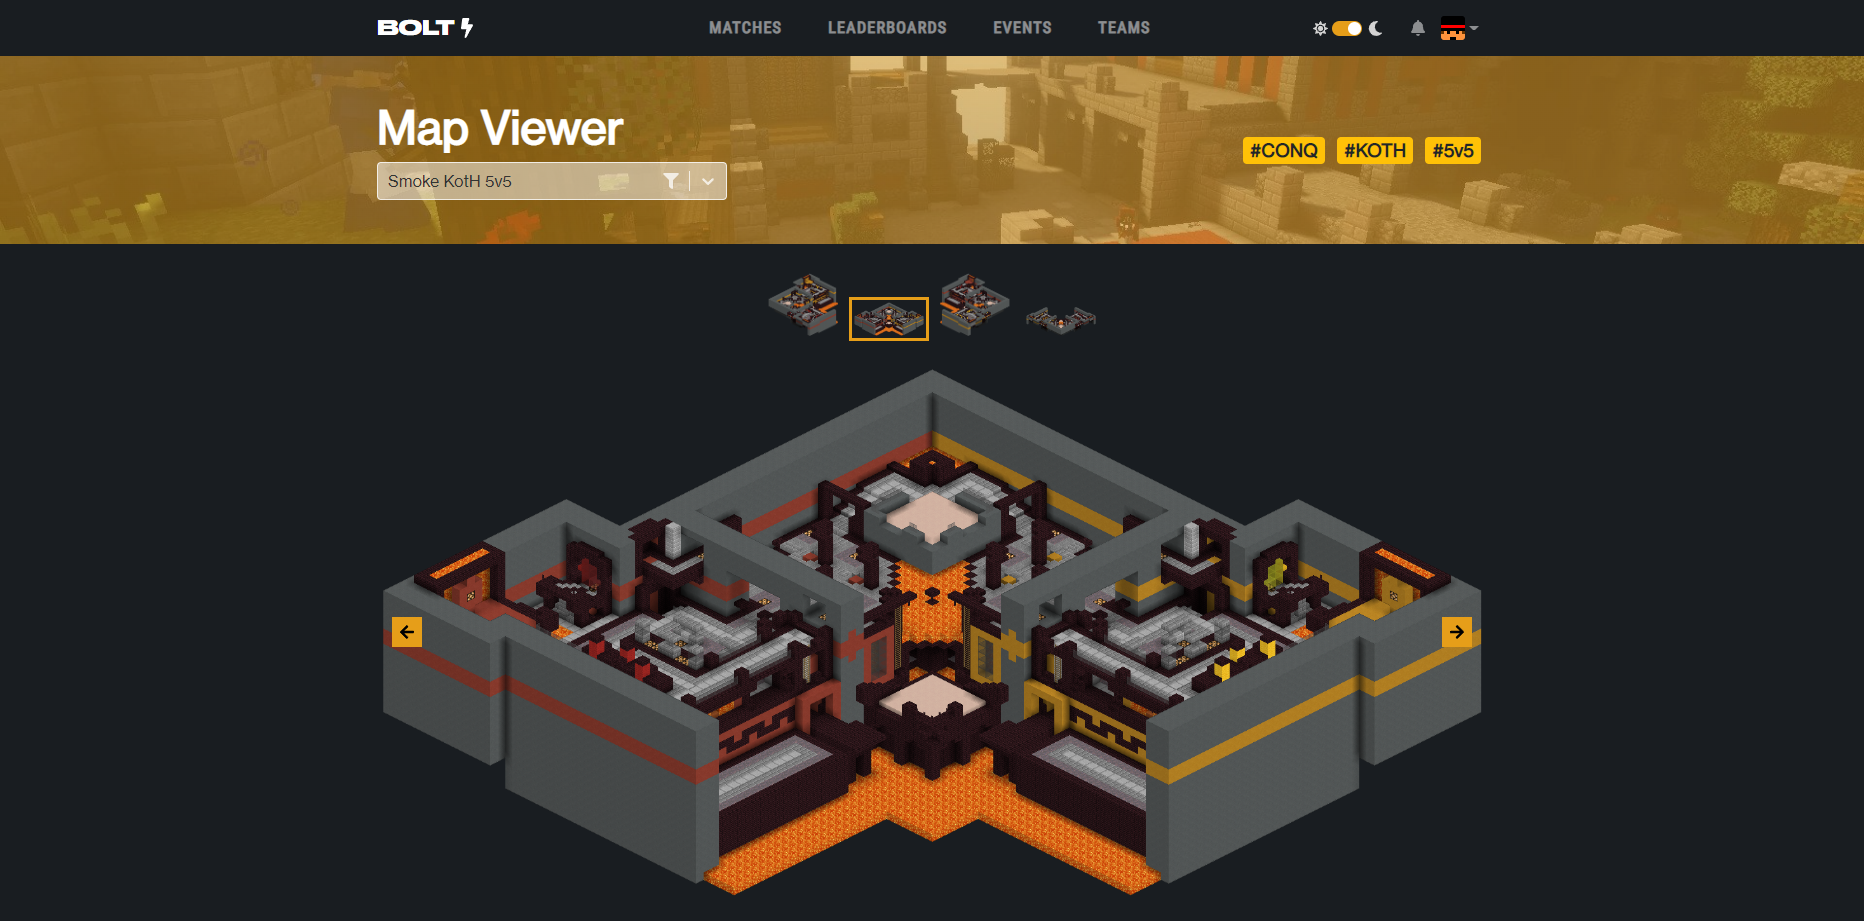
Maps and Map Viewer
Bolt PUGs currently has over 250 maps loaded and ready to play. The full list of maps is visible on our map viewer, which showcases four unique pictures of every map in high resolution. Have a glance at https://bolt.rip/maps!
If you have suggestions on maps we should add, please let a Bolt manager know!
Creating a PUG, step by step
Create the lobby
To create a PUG, first log into the Bolt website and click the PUGs navigation button at the top of the screen. Here, your lobbies, as well as all public lobbies, are visible.
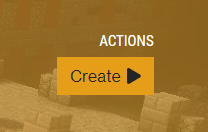
Click the "create button" in the banner to start the setup.
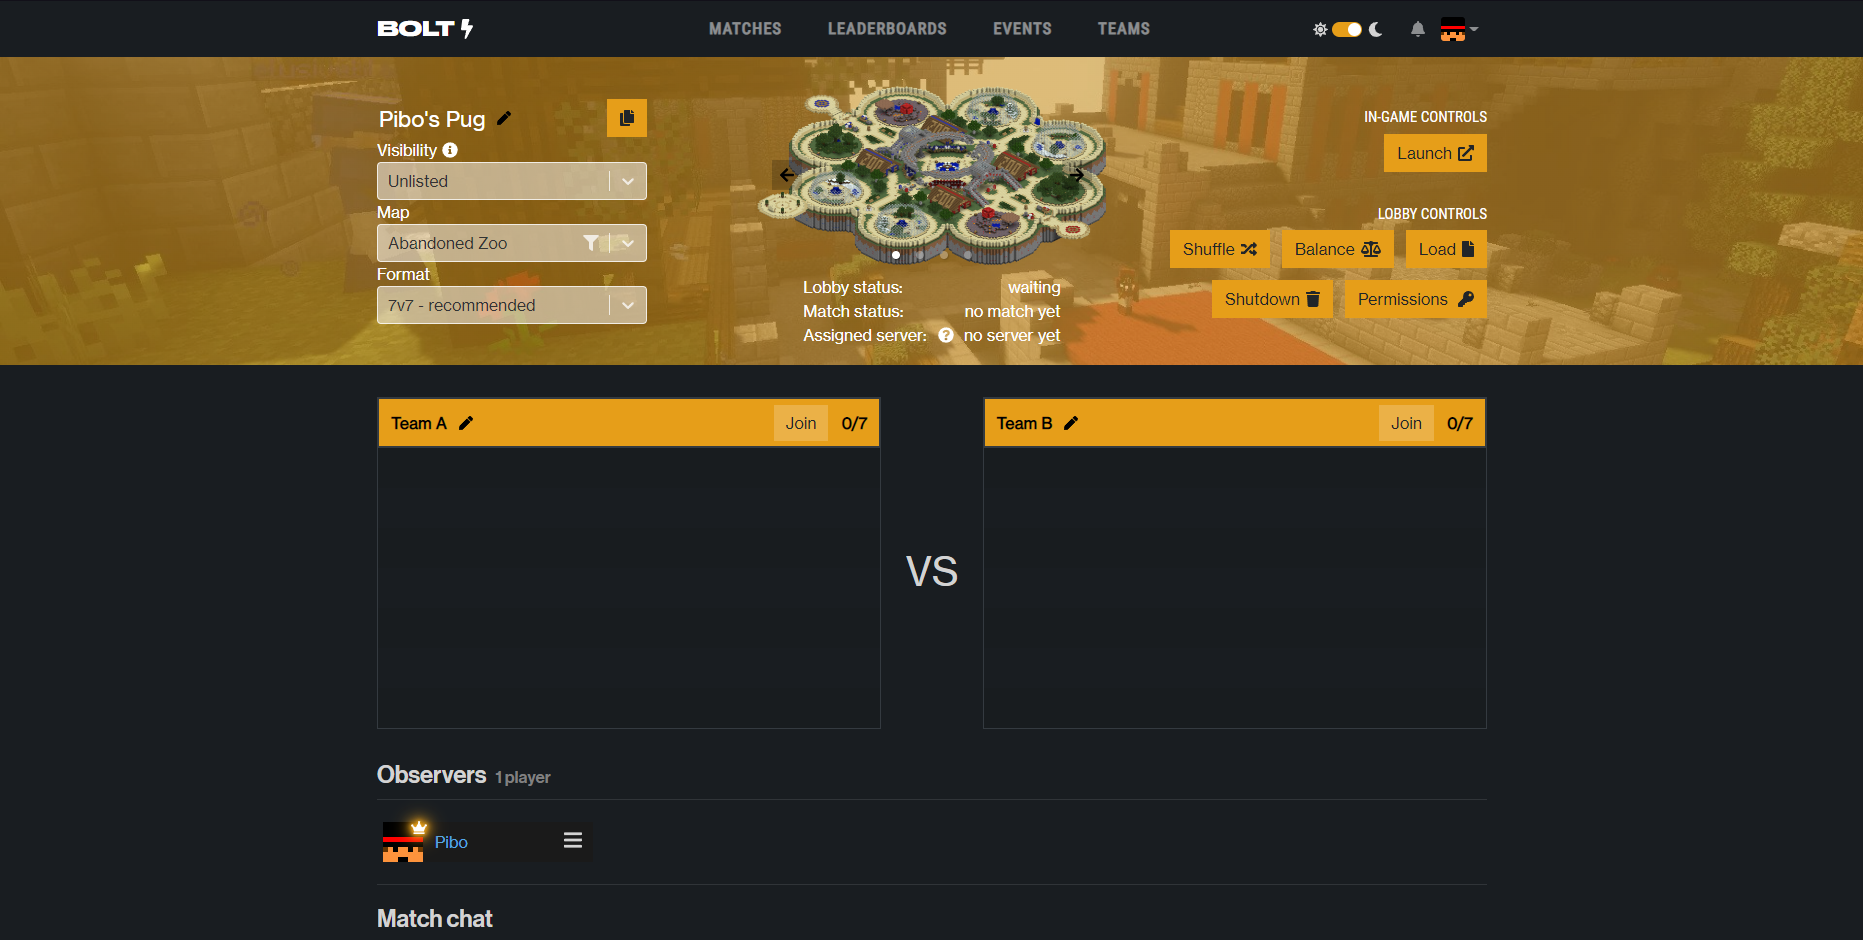
You will be taken to your lobby. Here, you can perform a plethora of actions, including (but not limited to):
- Changing its name
- Changing its visibility
- Changing the map
- Changing the format
- Dragging players in and out of the teams
- Shuffling and balancing teams
- Assigning mods and permissions
- Changing teams' names
- (Advanced) Loading teams from file
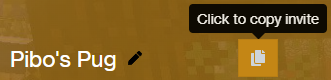
Invite your friends
Players can join via the main page if the lobby is public. In order to invite people to an unlisted lobby, you just have to send them the link – that's all!
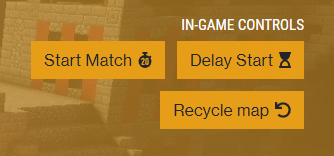
Launch the PUG
Once a map is picked and everyone has joined their teams, you can launch the PUG. This will pick an empty server and assign it to your lobby. From now, everything that happens in the website will happen in real time in-game, and vice versa.
Once the PUG has loaded, you will now have complete control of the match.
When the match ends, you can continue to play on any map you want. Every match you play will be saved to the lobby along with its stats for you to view.
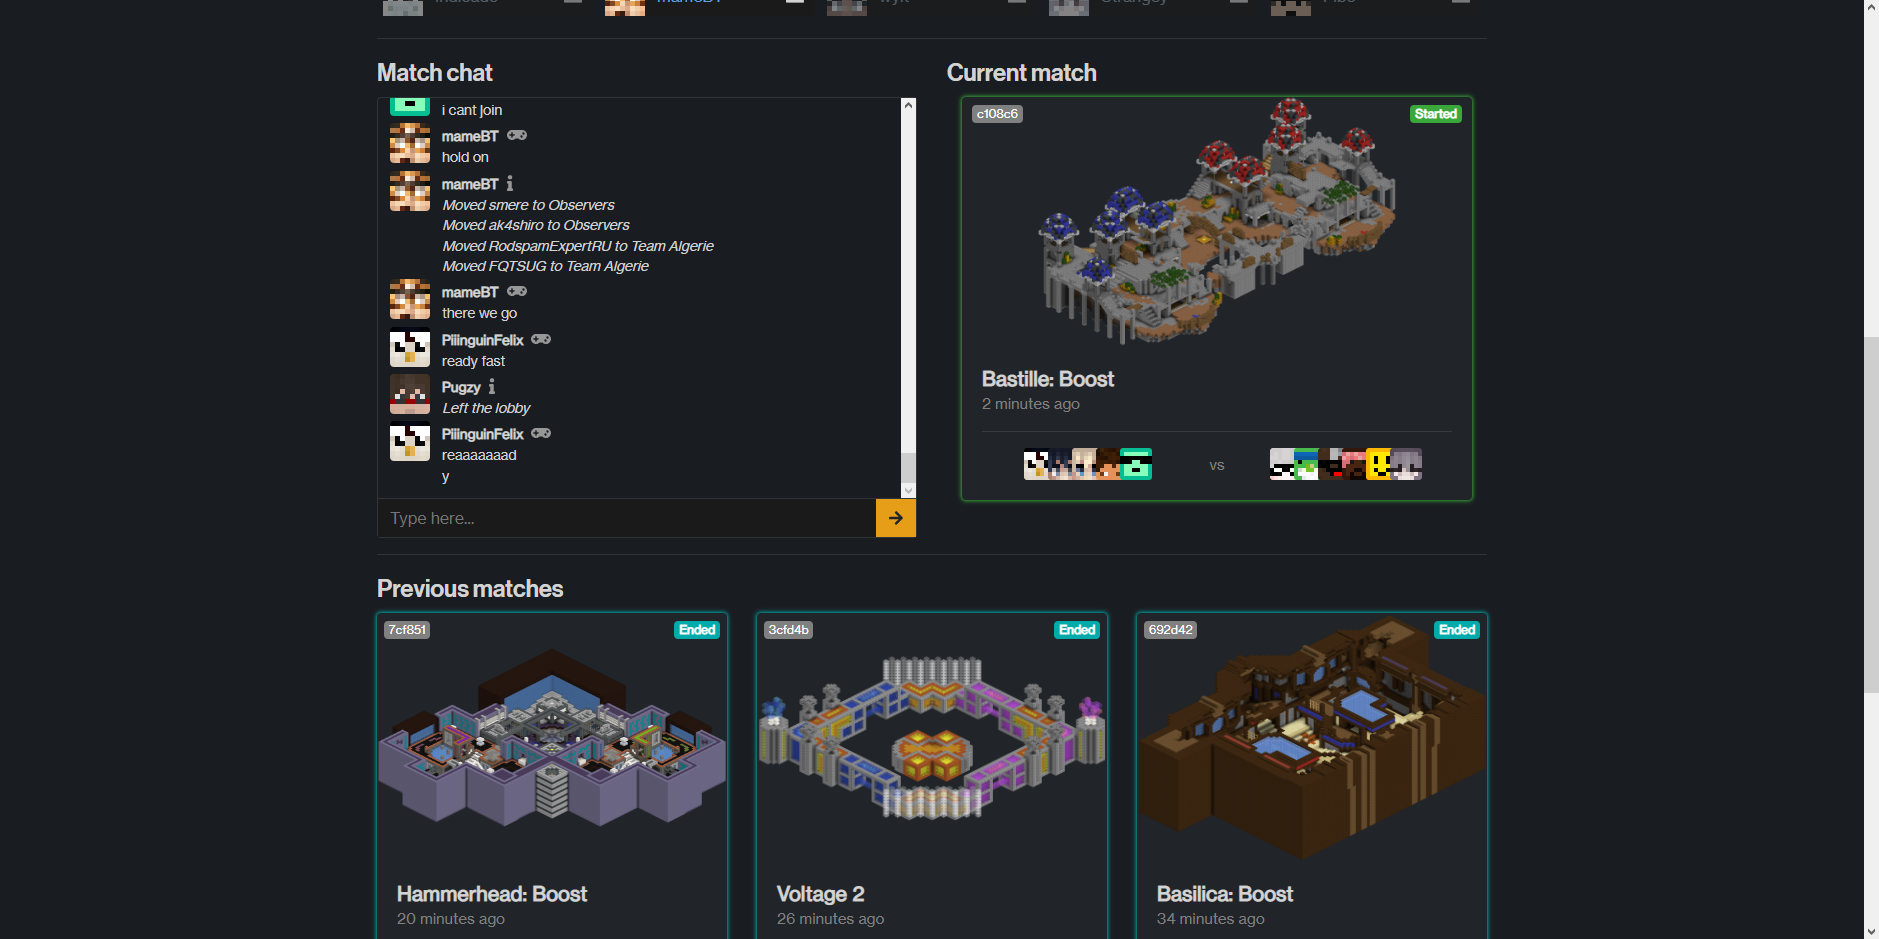
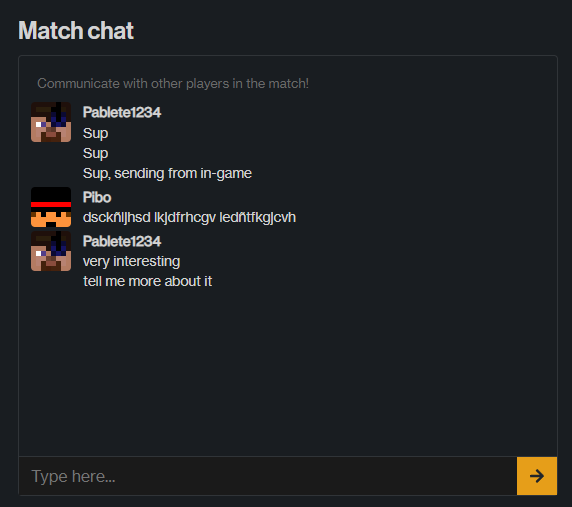
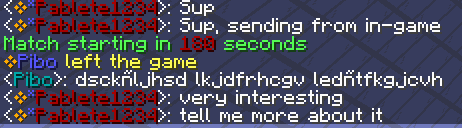
Chat
Chat is bidirectional – website messages will display in-game, and vice versa.